
Medical Photography at home
Introduction:
High-quality self-medical photographs are key to a successful initial screening by our clinic coordinators. In this guide, we’ll walk you through the steps of taking self-medical photographs for a virtual evaluation by the coordinator.
Equipment You'll Need
- Camera or Smartphone: Use a device with a high-resolution camera.
- Tripod or Stable Surface: To keep your camera steady.
- Good Lighting: Natural light or well-distributed indoor lighting.
Preparing for the Photos
- Clean Face: Start with a clean, makeup-free face and dry hair.
- Clothing: Wear a plain, solid-colored top that contrasts with your skin tone. This makes it easier for the surgeon to focus on your face.
Camera Setup:
- Camera Placement Place your camera or smartphone on a tripod or stable surface at eye level.
- Timer or Remote Shutter: Use a timer function or remote shutter release to eliminate camera shake.
Lighting:
- Natural Light: If possible, use natural daylight. Position yourself near a window with indirect sunlight for even, flattering lighting.
- Indoor Lighting: If using indoor lighting, ensure it’s well-distributed and doesn’t cast harsh shadows on your face.
Taking the Photos:
- Set the camera to capture the highest resolution possible.
- Use the timer function or remote shutter to take photos without camera shake.
- Review each photo to ensure clarity and focus.
Understanding the Frankfurt Plane
The Frankfurt plane is an essential reference in facial photography, connecting the following two points:
– Porion: The highest point of the ear canal.
– Orbitale: The lowest point on the margin of the eye socket.
Ensure that a line connecting the porion and orbitale remains parallel to the ground in all your profile shots. This maintains consistent positioning for accurate assessments.
Avoid putting your chin excessively up or down, unless otherwise specified.
The place for my face
Baseline shots: Frontal View
Frontal View:
- Position yourself facing the camera directly.
- Stand or sit up straight.
- Keep your shoulders relaxed.
- Maintain a neutral expression with your lips together.
Baseline shots: Frontal Smiling View
Frontal Smiling View:
- Position yourself facing the camera directly.
- Stand or sit up straight.
- Keep your shoulders relaxed.
- Make a maximum full-denture smile and take the photo.
Baseline shots: Right Profile View
Right Profile View
- Turn your head 90 degrees to the right for the right profile.
- Keep your Frankfurt plane (explained above) parallel to the ground.
- Maintain a neutral expression.
Baseline shots: left Profile View
Left Profile View:
- Turn your head 90 degrees to the left for the left profile.
- Keep your Frankfurt plane (explained above) parallel to the ground.
- Maintain a neutral expression.
The place for my face
Additional Shots
Depending on your concerns, consider taking the following additional shots below:
Sending the Photos:
Compile the photos into a single folder or document and upload them to your virtual Guest profile on our online platform, or send them to your coordinator via email.
Conclusion:
High-quality self-medical photographs are a crucial part of a successful virtual pre-consultation with your head and neck surgeon practicing in facial plastic surgery. By following these guidelines and understanding the Frankfurt plane, you can provide your surgeon with the information needed to initiate the consultation process effectively and discuss your facial cosmetic surgery goals.
Additional Shots
Hair concern: Additional shot of the top of your head (Vertex)
Additional Shots
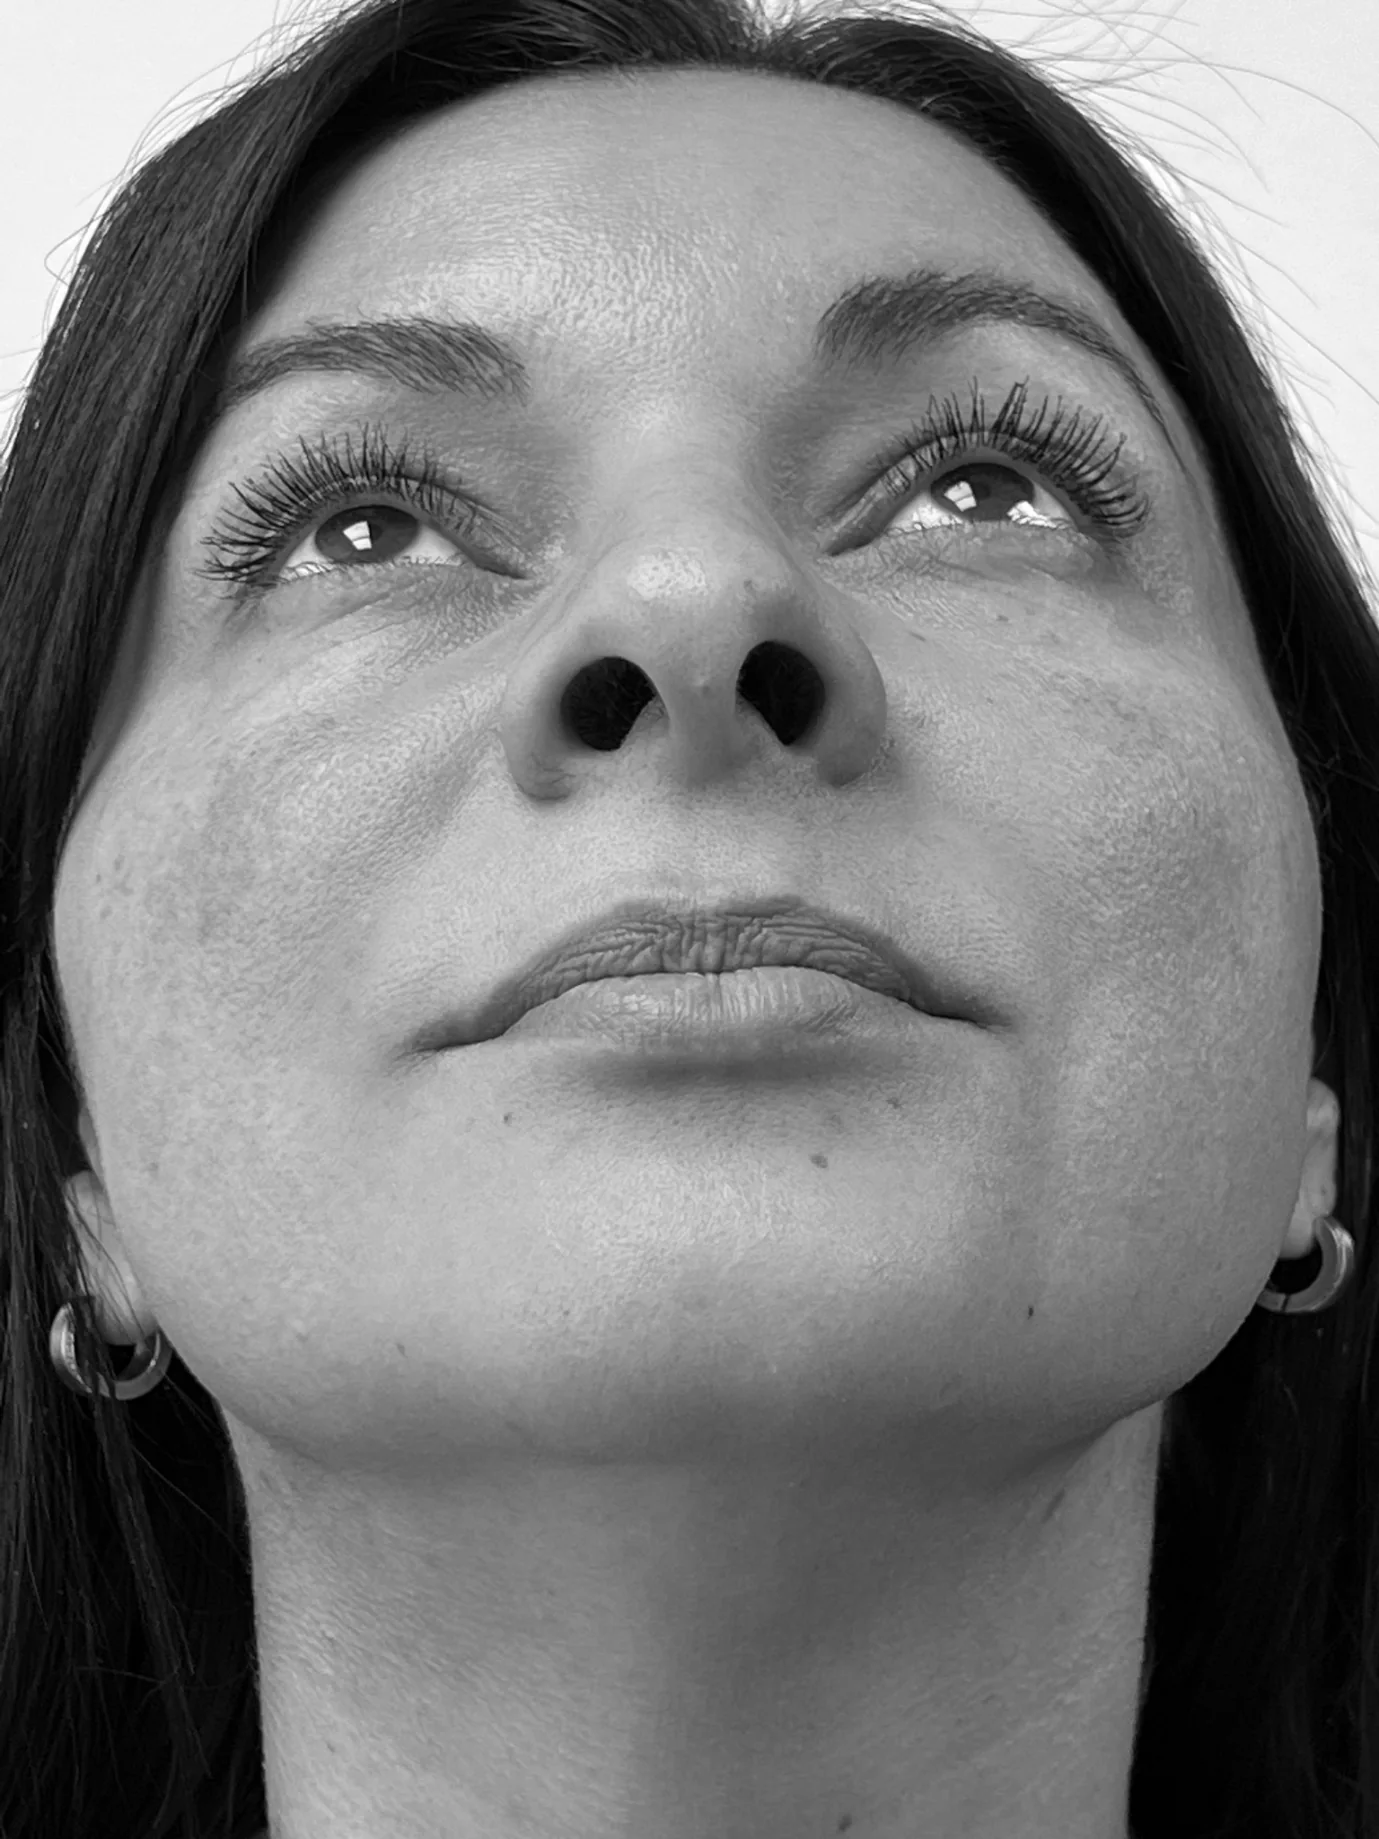
Nose concern: Additiional shot of the base of your nose
Additional Shots
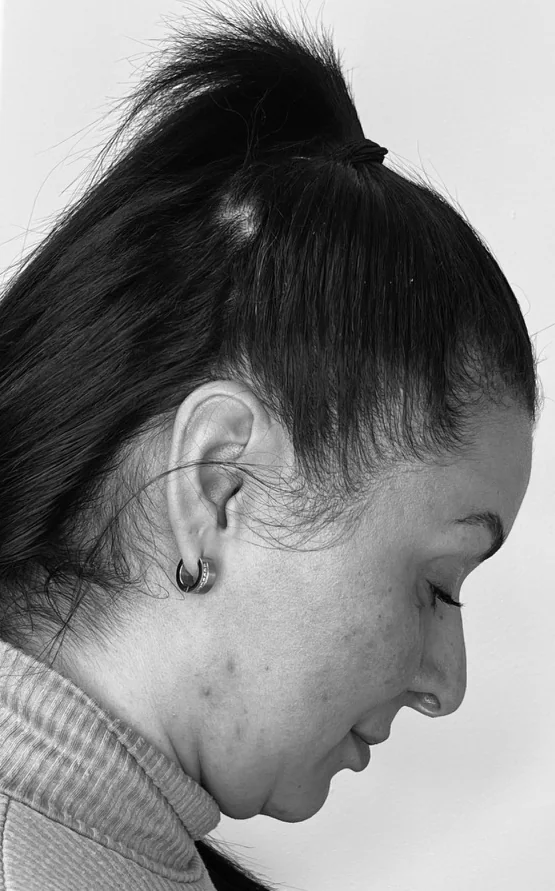
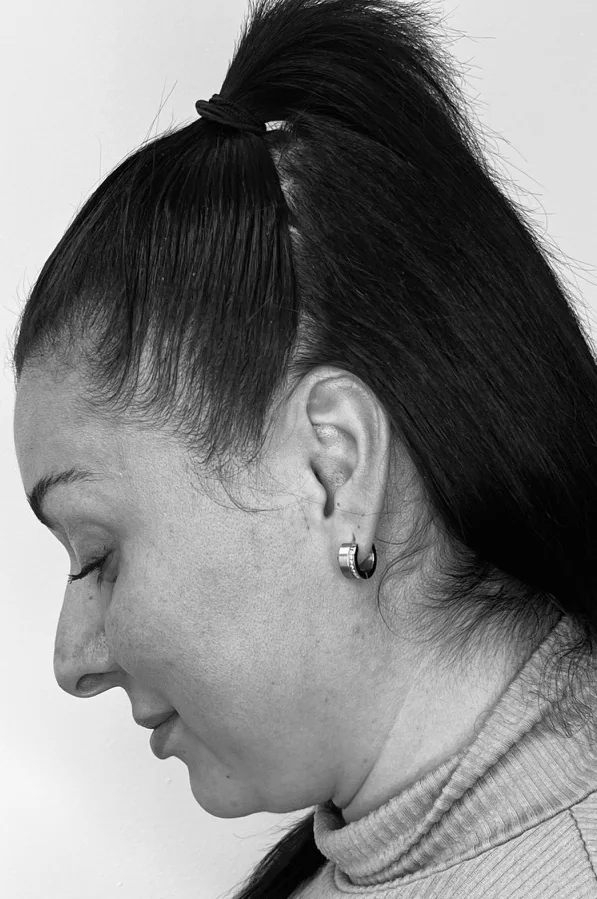
Cheek, Jowl or Neck concern: Right and Left Profile with the neck flexed
Additional Shots
Close-up of any other specific concern